It seems like one of the biggest challenges in launching one’s website is getting from the “I want to do this” stage to the “let’s do this” stage. I like to call this paralysis-by-analysis. We come up with a million obstacles to getting something done. Everyone suffers from this at one point or another: overthinking to the point of inactivity. I decided to write this post to show how simple it is to launch a real estate website these days. It no longer has to cost thousands of dollars. Though I’m sure you can still find someone to do something custom to justify a higher price point, you don’t need a computer science degree, and it shouldn’t take you months to get up and running.
Most assume that the process of setting up a real estate website on WordPress is super complex and time-consuming. It’s not. Especially if you use an all-in-one hosted solution, like ours that has the IDX built in. While this video will show you how to get your site launched in under 10 minutes (including creating your first blog post), you may decide to host the site yourself and use a different IDX provider. If that’s the case, you’re still not talking about an astronomical amount of time to launch. Though I can promise you, going the DIY route won’t be under 10 minutes.
In this video, we show you how to set up a responsive real estate website, purchase a domain name and publish your first blog post — all under 10 minutes. Pay close attention to the timer in the video.
Step 1: Register for a site.
“Creativity is thinking up new things. Innovation is doing new things.”
— THEODORE LEVITT


Step 2: Fill out the form.

Step 3: Visit the site’s dashboard.

Step 4: Set API Key.

Step 5: View listings.

Step 6: Register a domain.

Step 7: Set the DNS.

Step 8: Domain mapping on Placester.

Step 9: Choose a theme & activate.
“An idea can turn to dust or magic, depending on the talent that rubs against it.”
— WILLIAM BERNBACH

Step 10: Create a menu.

Step 11: Assign menu as primary menu.

Step 12: Verify site looks awesome.

Step 13: Edit theme options.

Step 14: More theme options.

Step 15: Review site.

Step 16: Start writing blog posts.

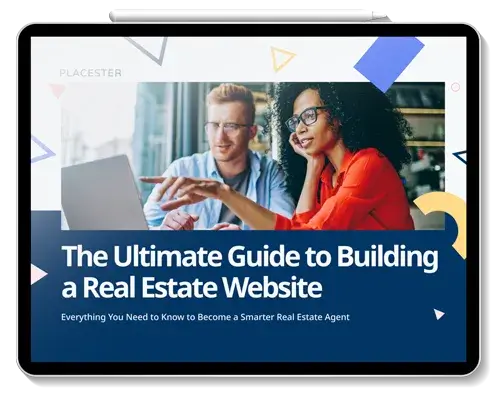
If you’re looking to dig deeper, also check out our Ultimate Guide to Building a Real Estate Website eBook!
Was this helpful? Let us know your thoughts on this video tutorial in the comments below!


