(800) 728 8391



Quick summary:
- 🧩 Flexible but fragmented: WordPress gives you extensive control, but real estate functionality requires separate tools and ongoing maintenance.
- 💰 The real cost goes beyond WordPress: Hosting, premium plugins, and IDX can bring the first-year expense to around $1,000–$3,500.
- ⚡ Dedicated platforms simplify the setup: Alternatives such as Placester combine real estate website tools in one environment, helping you launch faster.
WordPress is an open-source content management system that can be adapted to build almost any type of real estate website. With the right theme and plugins, it can display MLS listings, capture leads, and publish local market content.
41.2%
As of July 2026, WordPress powers 41.2% of all websites and holds a 59.1% share of the identifiable CMS market.
Source: W3Techs
Its popularity reflects the platform’s versatility, but WordPress does not provide a complete real estate website out of the box. You receive the foundation and must select and maintain the solutions that add the required functionality.
This guide will walk you through the process of creating a real estate WordPress website step by step. You will also discover dedicated industry platforms that may offer a faster and more convenient option, depending on your business model. Keep reading to find the right approach for your website.
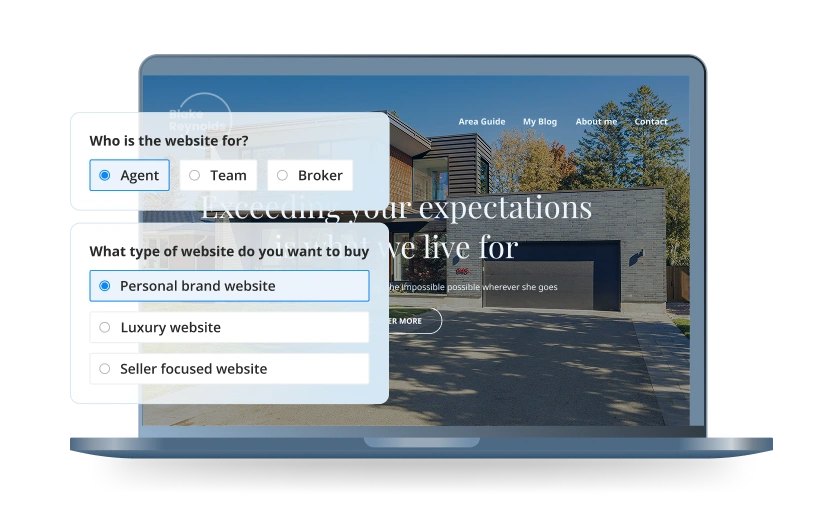
AI Websites for Real Estate
Get a custom, ready-to-edit website
in less than 4 minutes.
How does WordPress work?
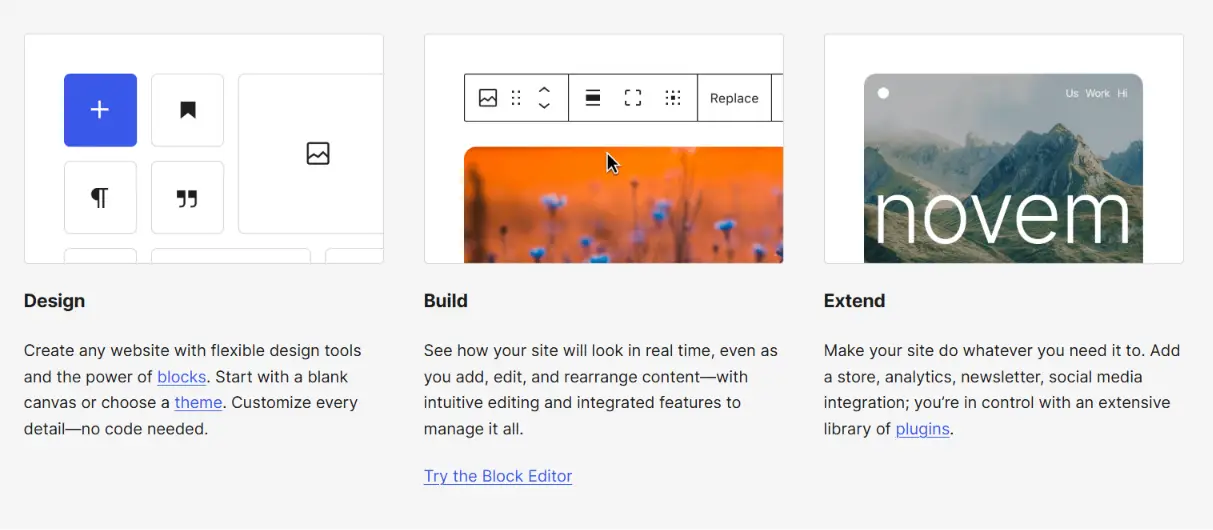
WordPress stores your website content and turns it into pages that visitors can access through a web browser. You manage the design and settings from the WordPress dashboard, while the theme determines how the information appears on the public-facing front end.
The standard block editor (commonly known as Gutenberg) lets you build pages and blog posts from individual content blocks, such as:
- Text
- Images
- Columns
- Buttons
- Embeds
With a compatible block theme, the Site Editor also gives you control over the header, navigation, footer, and page templates. You can therefore change much of the website layout without editing code. Some themes use their own customization tools or work with a separate page builder such as Elementor instead.
WordPress provides the core publishing system rather than every feature your website may need. A theme controls its visual presentation, while plugins extend its functionality. For a real estate website, this means installing additional tools to capture leads and connect MLS listings through an IDX service, as neither function is built into WordPress.
You can use the WordPress software in two main ways:
| Option | How it works |
|---|---|
| Self-hosted WordPress | You install the open-source software from WordPress.org on hosting purchased from a third-party provider. You select and manage the theme, plugins, backups, and updates. |
| WordPress.com | Hosting is included and much of the technical maintenance is handled for you. As of 2026, plugins can be installed on paid plans, although available features and customization options depend on the selected plan. |
Both options use the same underlying WordPress software. The main difference is who manages the hosting and technical infrastructure. WordPress.com packages these services together, whereas the self-hosted version gives you greater control over the hosting environment and website configuration.
For a self-hosted real estate website, WordPress serves as the foundation that connects all the components you select. Your hosting keeps the site online, the theme provides its design, and plugins add the required tools. This makes the platform highly customizable, but it also means that you are responsible for keeping the different components compatible and up to date.
In this article, WordPress refers to the self-hosted version available through WordPress.org.
Is WordPress good for real estate websites?
WordPress is not necessarily a good choice for a real estate website because it does not include the industry’s core functionality by default. You get a strong foundation for your site but you need to add property search, MLS data, lead capture, and CRM connections yourself. For agents who want to launch quickly, a real estate-specific platform may therefore be a better fit.
WordPress makes the most sense when customization is the priority. You can select your hosting provider and create custom page layouts without being restricted to a closed website system. This freedom is valuable for real estate agencies with access to a developer or a clear SEO strategy that extends beyond listing pages.
A standard installation, however, functions primarily as a content management system. Most real estate-specific features require separate plugins or integrations. They make WordPress customizable, but they also increase the number of components that require attention.
91%
Of the 11,334 vulnerabilities disclosed across the WordPress ecosystem in 2025, 91% affected plugins, while only six low-priority issues affected WordPress core.
Source: Patchstack
The same flexibility that makes WordPress so customizable can also create additional work for real estate agents:
| ✅️ Benefits of WordPress | ❌ Challenges for real estate agents |
|---|---|
| Full control over the website design | More technical decisions during setup |
| Flexible content publishing | Real estate functionality added through plugins |
| Freedom to choose an IDX provider | No built-in search for MLS listings |
| Room for custom development | Developer assistance may be necessary |
| Control over the hosting environment | Website maintenance remains your responsibility |
| A broad choice of integrations | Support is divided between different providers |
| Free open-source software | Hosting, IDX, and maintenance increase the final cost |
What does a WordPress real estate website need?
A WordPress website needs external hosting and an IDX integration to meet the core needs of a real estate agent, but the exact setup depends on your business model. A solo agent who only showcases selected properties will need a different configuration than a real estate broker offering a full MLS search.
WordPress provides the publishing system, but the finished website depends on the products you choose for its design and real estate functionality:
| Component | Where to get it |
|---|---|
| Domain and hosting | Register the domain through a domain registrar or hosting provider. WordPress.org currently recommends Pressable, Bluehost, and Hostinger. |
| WordPress software | Download it from WordPress.org or use the automatic installation offered by your host. |
| Real estate theme | Choose a free theme from the WordPress Theme Directory or a premium option such as Houzez or RealHomes. |
| Page editor | Use the built-in Gutenberg editor or install Elementor if required by your theme. |
| SEO plugin | Install Yoast SEO or Rank Math from the WordPress repository. |
| Security | Use protection included with your hosting plan or install Wordfence or All-In-One Security. |
| Backups | Choose hosting with automatic backups or install UpdraftPlus. |
| Performance optimization | Use the caching tools provided by your host or install WP-Optimize. |
| Manual property listings | Use a real estate plugin such as Estatik or Easy Property Listings. |
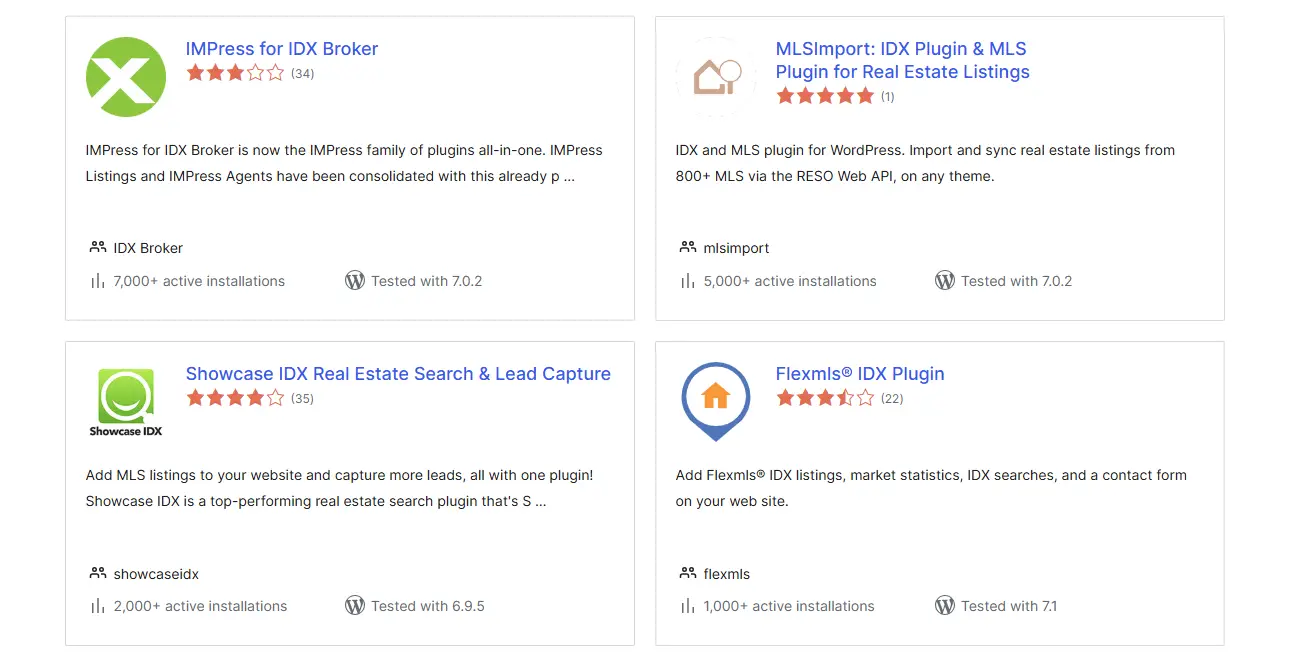
| Searchable MLS listings | Connect an IDX provider through Optima Express, IMPress for IDX Broker, Showcase IDX, or Realtyna WPL. |
| Lead capture | Use the forms included with your IDX service or install WPForms or Gravity Forms. |
| CRM integration | Select an IDX provider with a native CRM connection or use an automation tool such as Zapier. |
| Analytics | Connect Google Analytics and Search Console through Site Kit by Google. |
How to build a real estate site with WordPress in 7 steps
If you have the time and technical skills to configure and manage the website yourself, you may prefer WordPress over the convenience of a dedicated platform. In that case, follow these seven WordPress real estate website design steps:
1. Set up your WordPress website
Start by registering a domain through a registrar such as Namecheap or GoDaddy. You can also buy one from your hosting provider, which keeps the domain and server under the same account.
👉 Choose a domain name that strengthens your real estate brand.
Next, purchase WordPress hosting from a provider such as SiteGround, Bluehost, or Hostinger. Check that the plan supports the current WordPress requirements, including PHP 8.3 or newer and HTTPS. Managed WordPress hosting is usually easier to maintain because the provider handles more of the server configuration.
Install WordPress from your hosting dashboard and connect the domain to the new installation. Your host should provide instructions for changing the domain’s DNS settings if the two services were purchased separately. Once the domain is connected, activate the SSL certificate and confirm that the website opens with https://.
During installation, create a unique administrator username instead of using “admin.” Enter an email address you check regularly because WordPress sends technical notifications to it.
In the WordPress dashboard, open “Settings > General” to add the website name and select the correct time zone. Then go to “Settings > Permalinks” and choose “Post name.” This produces readable page addresses without dates or post numbers.
Delete the sample page and post created during installation. While you build the website, open “Settings > Reading” and select “Discourage search engines from indexing this site.” Disable this option before launch. Your WordPress installation is now ready for a real estate theme.
2. Select a real estate WordPress theme
Choose a customizable theme based on how you want to edit the website and which IDX service you plan to use:
- If you prefer the standard WordPress editor, look for a block theme.
- If you want to work with Elementor, make sure the theme was created for that page builder.
You can browse free WordPress themes under “Appearance > Themes > Add New” in the WP dashboard. Premium designs are purchased from the developer or a marketplace and uploaded as a ZIP file through “Appearance > Themes > Add New > Upload Theme.”
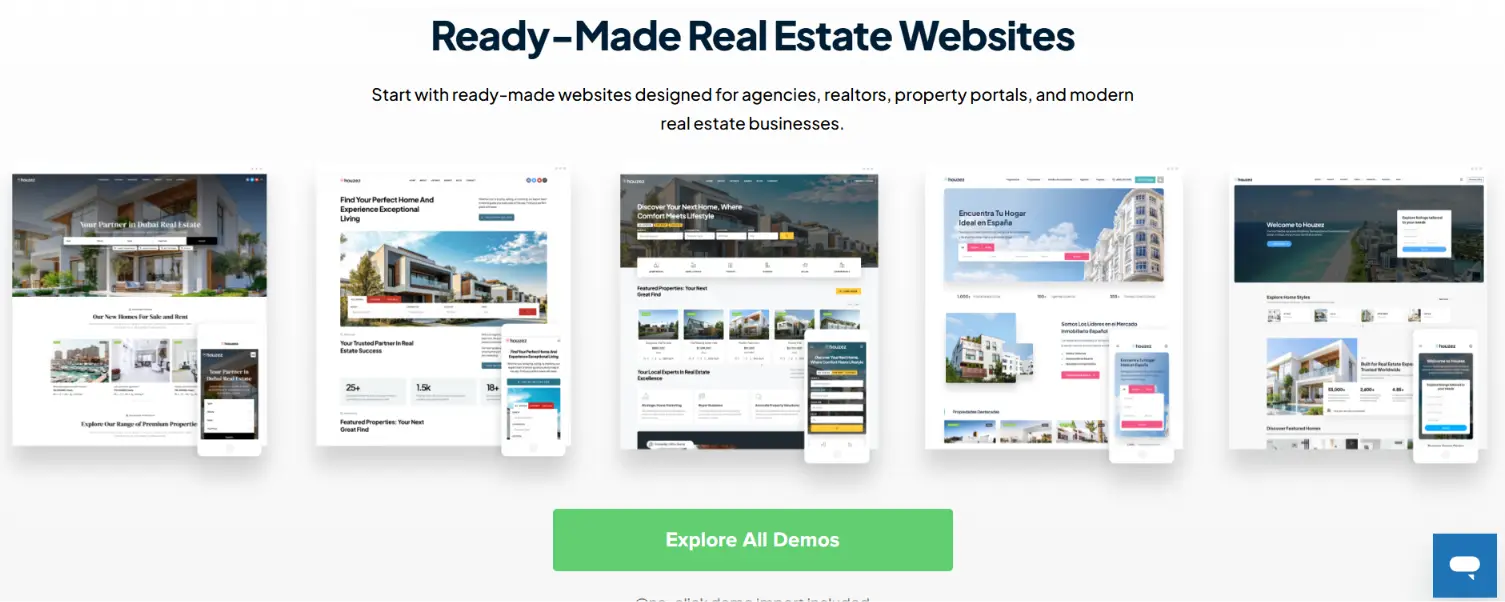
Before buying a theme, open its demo on your phone. Check whether the navigation remains usable and the pages load without distracting animations. Review the changelog as well. A theme that has not been updated recently may cause compatibility problems when WordPress or your plugins change.
Popular WordPress real estate-specific options such as Houzez provide property page templates and their own listing management tools. However, built-in property listings are not the same as an MLS feed. If you plan to add IDX, confirm that the theme works with your selected provider and can display its search results within the website layout.
After installation, set the global font and brand colors. Avoid importing the entire demo unless you intend to use most of its structure, as demo imports often add unnecessary pages and plugins.
If you plan to edit theme files or add custom PHP, install a child theme before making those changes. This prevents a future template update from overwriting your work. Once the theme is active and its basic appearance is configured, you can move on to the plugins that will provide the missing functionality.
3. Install essential WordPress plugins
Before installing any WordPress plugin, check which functions your hosting plan already covers. Server-level caching or automated backups may make another plugin unnecessary. Duplicating these tools can slow down the website or create conflicts.
Free plugins can be added through “Plugins > Add New Plugin” in the WordPress dashboard. Search for the name, click “Install Now,” and then select “Activate.” For a premium plugin purchased elsewhere, use “Upload Plugin” and add the ZIP file provided by the developer.
The best real estate websites built with WordPress use plugins such as the following to handle functions missing from the core software:
| Purpose | What it covers | Example |
|---|---|---|
| SEO | Metadata and XML sitemap | Yoast SEO |
| Security | Firewall and login protection | Wordfence |
| Backups | Scheduled off-site copies | UpdraftPlus |
| Caching | Faster page delivery | WP Rocket |
| Image optimization | Photo compression and WebP conversion | ShortPixel |
| Analytics | Google Analytics and Search Console connection | Site Kit by Google |
| Email delivery | Reliable form notifications | WP Mail SMTP |
Check when each plugin was last updated and whether it supports your WordPress version. Remove unused plugins rather than leaving them inactive in the dashboard. In the next steps, you will also have to install and configure IDX and CRM tools.
4. Create the essential real estate pages
Create a separate page for each action you want a visitor to take. In the WordPress dashboard, go to “Pages > Add New” and build it with the editor supported by your theme. Give every page a short URL slug, such as “/about” or “/home-valuation.”
A complete real estate website should include the following pages:
| Page | Visitor action |
|---|---|
| Homepage | Understand who you serve and access the main search or contact option |
| About | Learn about your experience and approach |
| Property Search | Start searching the MLS once IDX is connected |
| Communities | Explore a specific neighborhood or service area |
| Buyers | Understand the buying process and request help |
| Sellers | Learn how you market properties and arrange a consultation |
| Home Valuation | Request an estimate for a property |
| Contact | Send an inquiry or find your contact details |
| Privacy Policy | Understand how submitted data is collected and used |
Build the homepage first, but avoid turning it into a preview of every other page. State where you work and make the next action clear. Then open “Settings > Reading,” choose “A static page,” and select it as the website homepage.
Community pages should contain original information about each location. You can prepare space for a property search on these pages, but do not add listings manually. The IDX integration configured in the next step will generate current results.
Once the pages are ready, add them to the navigation. Block themes manage menus under “Appearance > Editor > Navigation,” while classic themes usually use “Appearance > Menus.” Keep lower-priority legal pages in the footer so the main menu stays focused. Contact forms and lead routing will be added in step six.
5. Integrate IDX with your MLS
Your MLS will not normally send new listings directly to WordPress. You need an IDX provider that can access the MLS feed and display its data on your website. Start by checking which providers cover your local MLS and whether your brokerage already uses one.
After choosing a service, create an account and complete its MLS approval process. This may require a data agreement signed by your broker. The requirements and processing time depend on the MLS. You will not receive a working feed until the request is approved.
Next, install the provider’s WordPress plugin. For example, IDX Broker connects through the IMPress for IDX Broker plugin available in the WordPress repository. Enter the API key or account credentials supplied in the provider dashboard to link the plugin with your feed.
The integration should generate pages for:
- Property search
- Search results
- Individual listings
Assign the appropriate website template or IDX wrapper so these pages use the same header and styling as the rest of your site. You may then add a search form to the Property Search page created in the previous step. A shortcode or block supplied by the provider can also display relevant listings on community pages.
Choose search filters that reflect how buyers look for property in your market. Website visitors should be able to narrow the feed without working through an unnecessarily complex form.
Finally, try searching for listings on a phone to test the results and property detail pages. If you use a caching plugin, exclude dynamic IDX pages according to the provider’s instructions.
👉 See how easy it is to add MLS listings with Placester.
6. Configure lead capture and CRM integration
Lead capture should transfer a visitor’s action to your CRM with enough context for a relevant follow-up. Choose a CRM that works with your IDX provider or offers a compatible WordPress plugin. Create an account and configure its contact fields before connecting it to the website. If you already use a CRM, check which integrations it supports. Then configure the process in the same order a lead moves through the website:
1️⃣ Choose the conversion point. Decide when the IDX tool should request contact details. A registration prompt shown after someone has viewed listings usually creates less friction than blocking the initial search.
2️⃣ Configure the form. Ask only for information you will use. Add the appropriate consent language and explain what the visitor will receive after submitting the form.
3️⃣ Connect the website to your CRM. Use the native integration offered by your IDX provider when one is available. Otherwise, transfer leads through Zapier or a supported webhook.
4️⃣ Map the lead data. Make sure the CRM receives the form source and the page where the inquiry occurred. For an IDX lead, include the property or saved-search criteria that prompted the registration.
5️⃣ Set the routing rules. A solo Realtor can send every inquiry to one CRM account. Real estate brokers should assign leads according to the team’s existing ownership rules.
6️⃣ Configure the response. Send the visitor a confirmation immediately after submission. Create a separate CRM notification so the responsible agent knows that a new inquiry requires attention.
7️⃣ Test the complete flow. Submit a test inquiry through a front-end form on the website. Confirm that a new contact appears in the CRM and contains the expected context. Repeat the test for every form because each integration may use different field mapping.
If the IDX provider already sends property alerts, do not recreate the same automation in the CRM. One system should remain responsible for each message to prevent duplicate emails.
👉 Learn how a real estate CRM keeps your leads organized.
7. Optimize and launch the website
Complete this checklist before making the website available to potential clients:
🗹 Check the mobile version. Open every main page on a phone and confirm that text remains readable. Make sure buttons can be tapped without zooming.
🗹 Test the IDX search. Run several searches and open individual property pages. Confirm that listing statuses are current and MLS attribution is visible.
🗹 Submit every form. Check whether each test lead reaches the correct CRM record. Verify that the assigned agent receives a notification.
🗹 Improve loading speed. Test the homepage and IDX pages with Google PageSpeed Insights. Compress oversized images and remove scripts that do not provide useful functionality.
🗹 Review on-page SEO. Write a unique title and meta description for every important page. Confirm that your SEO plugin includes these pages in the XML sitemap.
🗹 Check accessibility. Add descriptive alt text to informative images. Ensure that every form field has a visible label and that links can be reached with a keyboard.
🗹 Confirm the website address. All pages should load over HTTPS and redirect to one preferred domain version. Fix broken internal links before launch.
🗹 Connect measurement tools. Verify the website in Google Search Console and confirm that Google Analytics records your visit.
🗹 Create a final backup. Save a restorable copy before installing updates or removing the temporary version of the site.
🗹 Enable indexing. Go to “Settings > Reading” and clear “Discourage search engines from indexing this site.” Submit the XML sitemap in Google Search Console once the website is live.
After launch, open “Tools > Site Health” in the WordPress dashboard and resolve any critical issues. Repeat the form and IDX tests regularly because plugin updates can affect integrations that previously worked correctly.
How much does a WordPress real estate website cost?
A self-built WordPress real estate website with IDX typically costs $1,000 to $3,500 in the first year. IDX accounts for most of this budget. A separate CRM will increase the ongoing cost, while professional development can add several thousand dollars to the initial investment.
WordPress itself is free, but the services required to operate a functional real estate website are not. The following estimates reflect prices available in July 2026:
| Expense | Typical cost | Billing |
|---|---|---|
| WordPress software | $0 | Free |
| Domain | $10–$25 | Per year |
| WordPress hosting | $100–$360 | Per year |
| SSL certificate | Usually $0 | Included with hosting |
| Real estate theme | $0–$100 | Free or one-time fee |
| Essential plugins | $0–$350 | Per year |
| IDX integration | $60–$200+ | Per month |
| CRM | $0–$100+ | Per user/month |
| Professional setup | $15–$120+ | Per hour |
For reference, a “.com” domain currently renews for $18.48 at Namecheap. Standard WordPress hosting commonly renews for around $11–$30 per month, although introductory prices can be much lower at providers such as Hostinger and SiteGround.
A premium real estate theme such as Houzez costs $89 on ThemeForest. Paid plugins can add a few hundred dollars per year: WP Rocket costs $59, Wordfence Premium costs $149, and UpdraftPlus Premium starts at $70.
IDX remains the largest website-specific expense. IDX Broker starts at $60 per month, while more advanced IDX solutions can exceed $200. Setup or MLS fees may also apply. If you need a separate real estate CRM, prices range from free options to products such as Follow Up Boss, which starts at $69 per user per month.
At this price point, a dedicated platform may provide better value than maintaining a collection of separate WordPress tools. Placester starts at $59 monthly, with IDX available for an additional $25 per month, and keeps the website within one managed environment.
WordPress alternatives: 3 best real estate platforms
As you already know, building a WordPress real estate website means managing an entire stack of separate components. Each one requires time to evaluate before launch and attention after the site goes live. If you want technology to simplify your work, a dedicated real estate platform may be a better fit. Many agents evaluate new tools from exactly this perspective.
66%
66% of Realtors named saving time as their primary motivation for adopting new technology.
Source: 2025 NAR Technology Survey
A dedicated real estate platform can reduce the amount of technical work by bringing the website and industry-specific functionality into one managed environment. The best option will depend on how you generate leads and how much control you need over the final website. Three tools worth considering are:
Placester
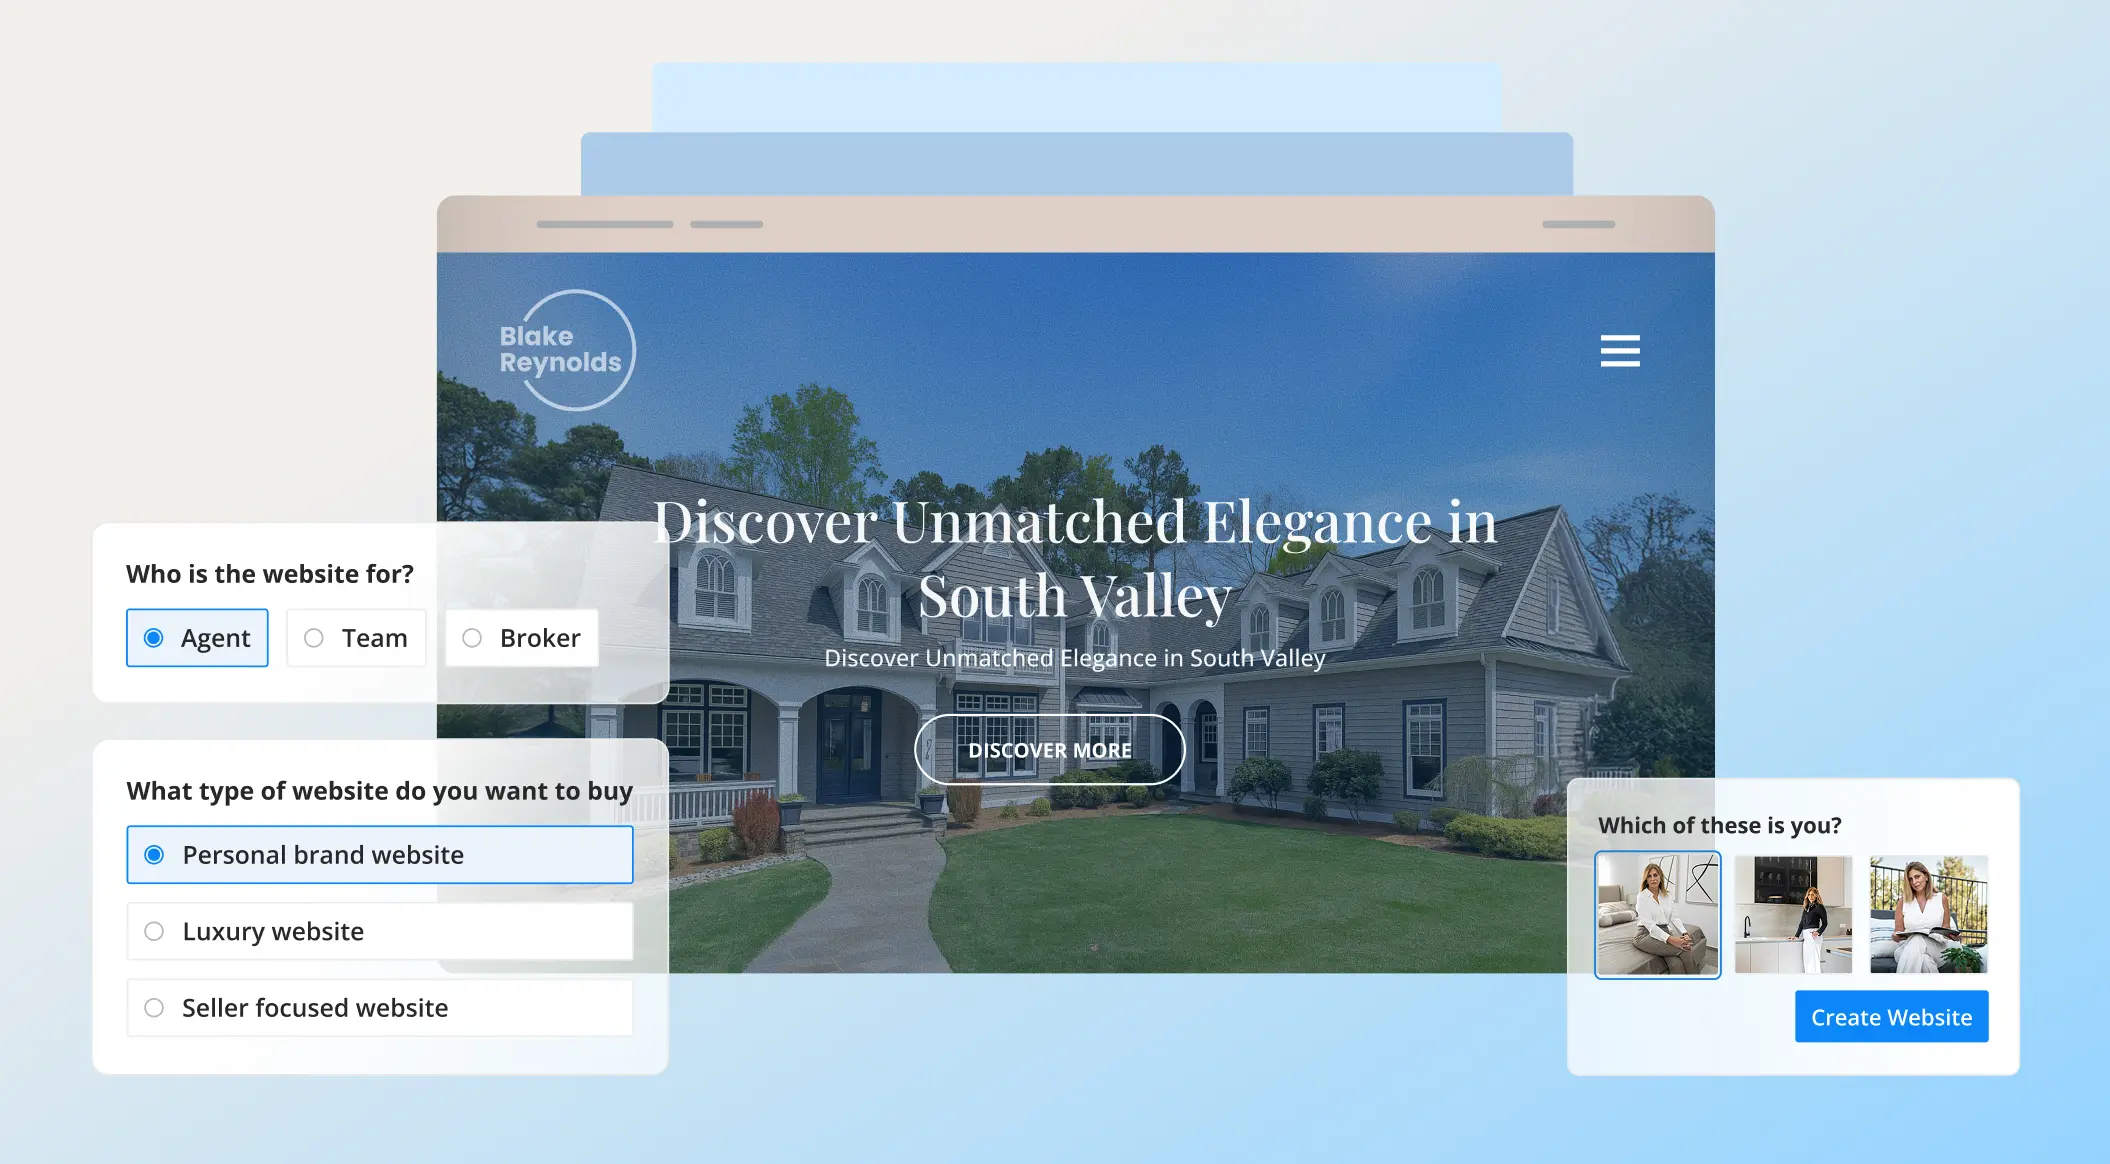
Placester is a real estate website platform that lets agents build and update an IDX-ready website without managing hosting and plugins. Its main advantage over WordPress is speed: the AI Website Builder generates the initial site, while the AI Editor allows routine changes through conversational prompts. It is the most accessible option of the three for agents who want design control without taking responsibility for the underlying technology.
Key features:
- AI Website Builder that generates a complete website from business information
- AI Editor for making changes through text prompts
- Integrated IDX covering more than 600 MLSs
- Property search with saved searches and listing alerts
- Built-in lead capture and basic contact management
- SEO and AI search optimization tools
- Integrations with Follow Up Boss and other CRMs through Zapier
Pricing: Agent plans cost $59 per month for Agent Essential, $79 for Agent Plus, and $129 for Agent Premier. Separate plans for teams and brokerages start at $199 per month.
Rating: 4.9/5 (Google)
Real Geeks
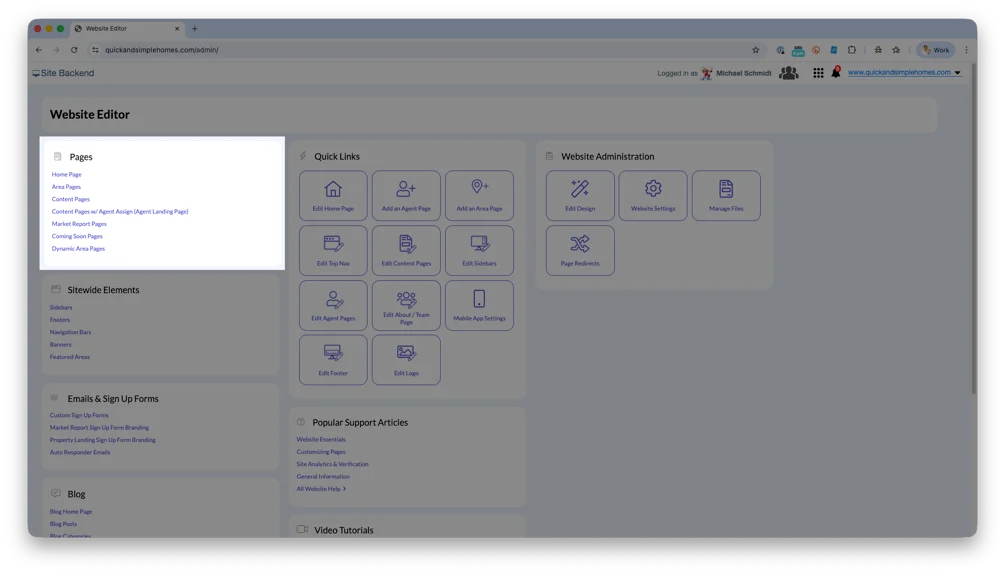
Real Geeks combines an IDX website with its own CRM, making it more of a lead generation system than a standalone website builder. Unlike WordPress, the platform connects property searches and website activity directly with follow-up tools. It is best suited to agents or teams that want to run their lead pipeline inside one system and may also invest in paid lead generation.
Key features:
- Personalized IDX website with real-time MLS listings
- Advanced search and home valuation pages
- Integrated CRM with lead activity tracking
- Built-in calling and text communication
- Automated email campaigns and property alerts
- Lead routing for teams and brokerages
- Optional lead generation campaigns across search and social media
Pricing: The core platform costs $399 per month for two users, plus a $500 setup fee and $10 per monthly IDX feed. Paid lead packages and additional users cost extra.
Rating: 4.5/5 (G2)
👉 Compare the 3 best Real Geeks alternatives.
Luxury Presence
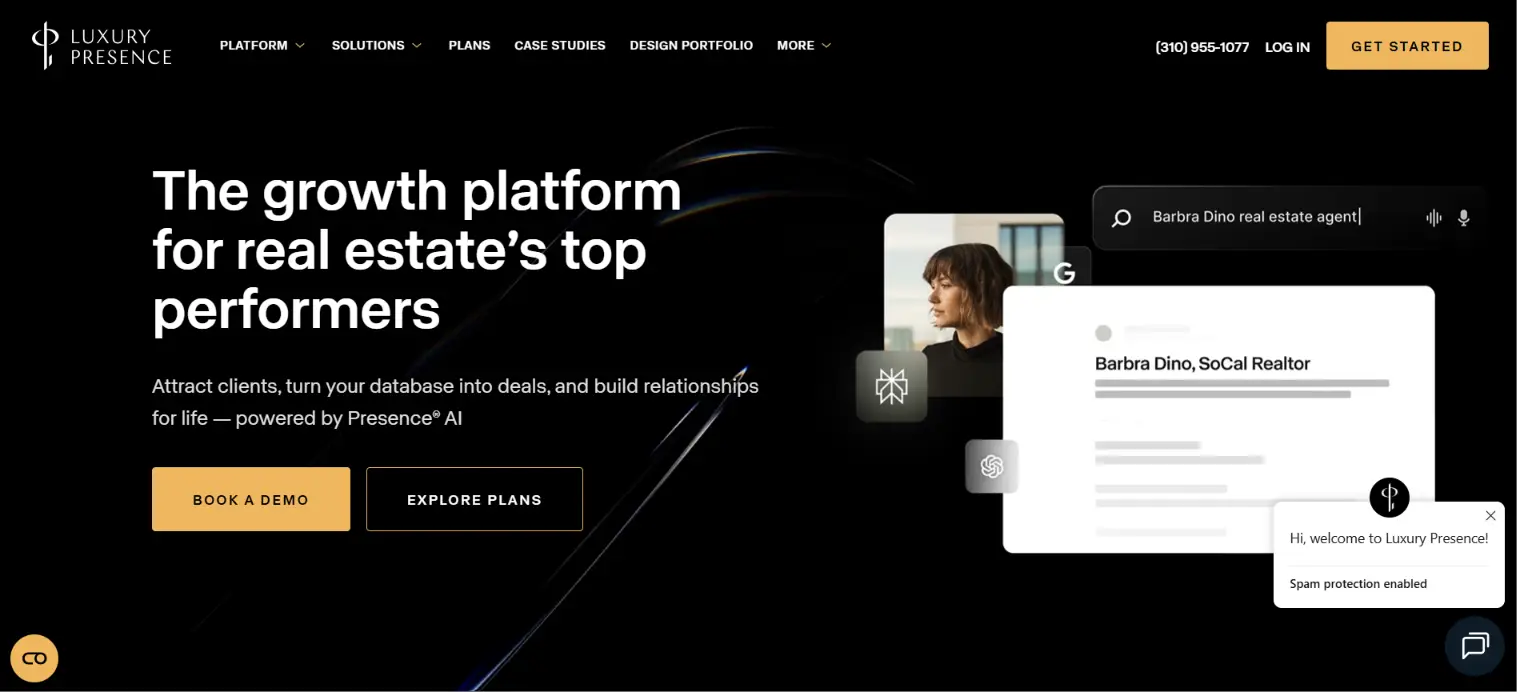
Luxury Presence is a managed growth platform aimed primarily at established agents and brokerages that place a high value on premium branding. Instead of selecting a WordPress theme and building the site independently, clients work with a design team that creates and maintains the website. The platform now extends beyond web design by connecting the site with its Presence CRM and managed marketing services.
Key features:
- Professionally designed website tailored to the agent’s brand
- MLS integration with built-in IDX search
- Presence CRM with AI lead scoring
- Saved listing and home value alerts
- Daily action plans with personalized message drafts
- Client collaboration tools and CMA presentations
- Managed SEO and AI search services on higher plans
Pricing: Luxury Presence offers Launch, Brand, Scale, and All In plans under 12-month agreements, but prices are quote-based and include a variable one-time setup fee. Enterprise packages are available for larger brokerages.
Rating: 4.8/5 (reported by Luxury Presence)
👉 Find the right alternative to Luxury Presence.
WordPress vs Placester: Choose a platform that fits your real estate business
WordPress allows you to customize almost every part of your website. With the right setup, it can also provide a SEO-friendly foundation. This flexibility makes sense when you have the technical skills or budget required to maintain several connected tools.
It is easy to assume WordPress is the best choice simply because it offers more control. However, the best solutions are those that match the way you work. Spending hours resolving plugin conflicts provides little value if your main goal is to build a recognizable brand and attract organic traffic.
Placester is an example of a real estate platform that removes much of this technical workload. Its integrated environment includes industry-specific website tools, while integrated IDX helps you manage property listings without maintaining a separate WordPress stack.
If you want to launch faster and keep the technology from becoming another project, Placester is likely the better fit for your real estate business.
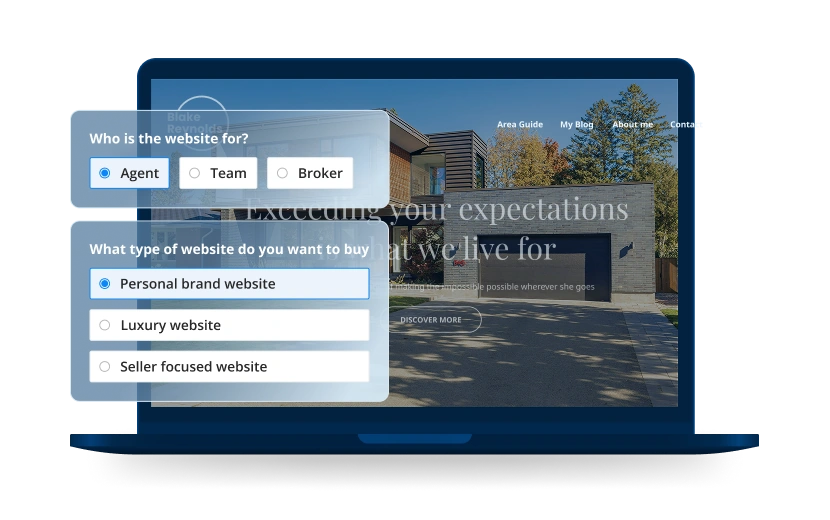
AI Websites for Real Estate
Get a custom, ready-to-edit website
in less than 4 minutes.
FAQ
What are the best real estate themes for WordPress?
Houzez is one of the strongest choices for a feature-rich real estate website, with IDX support and more than 170 Elementor widgets. RealHomes is a better fit when flexible design is the priority, offering over 130 Elementor widgets and dedicated property components. Whichever theme you choose, confirm that it works with your preferred IDX provider before buying it.
How do you create property listings on a WordPress real estate website?
You can add listings manually with a real estate plugin or import current MLS data through an IDX provider. Plugins such as Estatik work for properties managed directly in the WordPress dashboard, while IDX is the better option when buyers or renters need access to searchable MLS listings that update automatically. Placester includes IDX integration within its website platform, removing the need to connect it through a separate WordPress plugin.
Why are real estate agents moving away from WordPress?
Some real estate professionals choose dedicated platforms because WordPress requires separate solutions for IDX and ongoing maintenance. Placester is one such platform. It combines AI-assisted website building with integrated IDX and real estate-specific editing tools.
How to use WordPress for a real estate website?
Start with a self-hosted WordPress installation and choose a theme designed for real estate. You can then add an IDX provider to display MLS listings and connect lead capture with your CRM. WordPress gives you extensive control, but you are responsible for keeping the entire setup compatible and up to date. A real estate-specific platform like Placester may therefore be a better fit for your business.
What is the best platform for building a real estate website?
Placester is a strong choice for agents who want to launch quickly without assembling a WordPress technology stack. Its platform combines AI-assisted website building with integrated IDX covering more than 600 MLSs. It also lets you update your website through the AI Editor without configuring plugins or relying on a developer for routine changes.
Published on
(Last updated on
)