You may already know that eye-catching visuals are essential to enhancing your website and your company’s image. Content creators are innovating constantly, and learning new tools to keep up creatively can seem like a new career in itself (not to mention, it’s absurdly expensive). You’ve got the basics: Your site may have a pleasing palette and well-edited images, but let’s talk about how to ace those presentations, amazing infographics and flyers.
PowerPoint and Keynote offer many options for presenters, as do other great image editing tools, but where can a marketer go to up the ante without needing extensive experience or a visual design team? We find Canva’s user-friendly platform so effective when we’re looking to make a new SlideShare, Facebook theme or other social post. It saves time and allows you to make visually appealing, professional-style graphics on demand. Here are the simple steps to get you started with Canva.
Setting Up an Account
This step is very easy. Enter your e-mail and a password and Canva brings you right to “Your Designs” home page.
Choosing Your Presentation Type
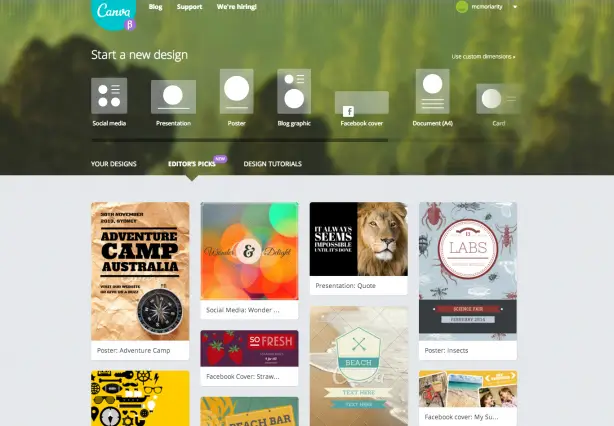
Choose what you want to create from a variety of presentation options. We love Canva’s social media layout — it leaves ample room to build pages in creative ways. The variety of layout options gives you room to create from scratch or use and manipulate Canva’s pre-made layouts. These existing layouts make the difference from spending two hours creating an interesting layout and taking five minutes to whip up something beautiful.
Using the Sidebar
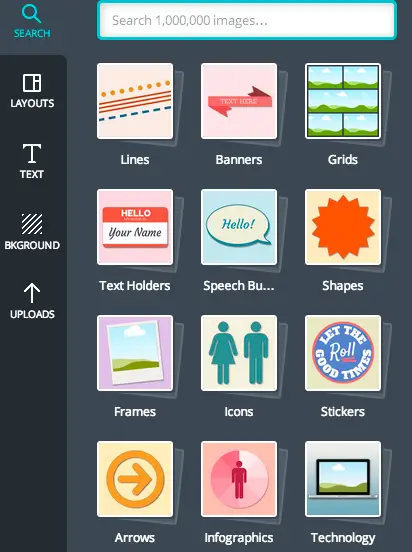
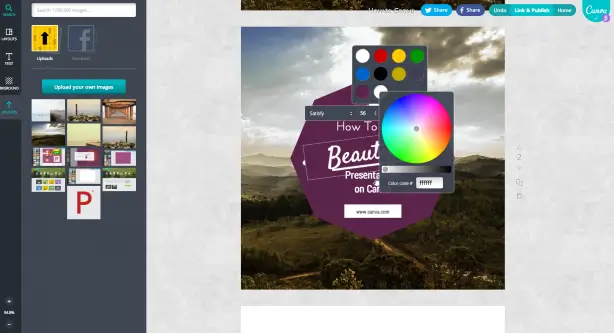
Canva’s sidebar is where you will find all of your editing tools. The “Layouts” tab provides those pre-made designs you can change as necessary layer by layer, while the “Background” tab leaves you with a more basic template to build from. The “Text” tab has a multitude of text boxes to choose from, and the “Upload” tool allows you to add new images if you don’t find anything in the “Search” tab that will work.
Uploading Your Own Photos
You can upload original or stock photos for a presentation with ease. Your images become readily available in the sidebar under “Uploads.” One great feature on Canva: Your images are saved the moment they are created, so there is no need to worry about closing out of a tab without saving.
Once images are integrated into your sidebar, you have the option of layering images (Canva’s or your own) on top of each other and the ability to sort and move layers. This can be really helpful when you are trying to place your company logo on the slide.
Inserting Text
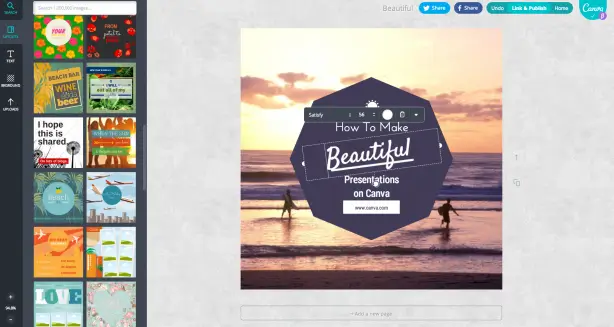
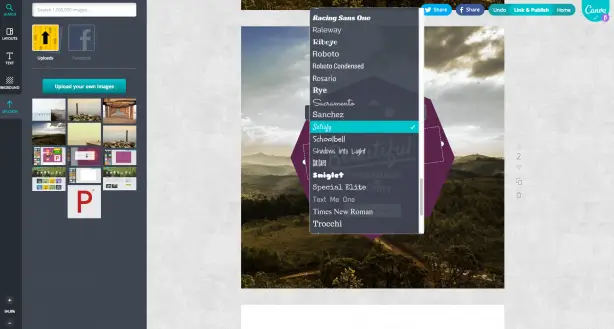
Creating text can be done in a number of ways. You can utilize the supplied banners or place text boxes where you need. For the second option, drag your text box onto your slide, placing it where you want. Select the box and a text editing bar will appear. Here you can change font, size and color of the text.
“If you make everything bold, then nothing is bold.”
— ART WEBB
Copying Your Slide
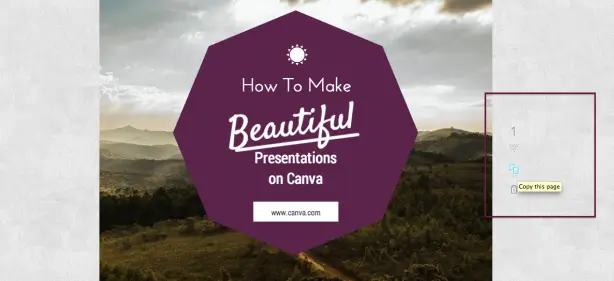
Copying is one of the more significant functions that makes your life easier. After you have completed a slide and it is formatted to your liking, look to the right of the slide you are working on. You should see an icon depicting slides layered on top of each other (see image below); click that. This will create an exact replica for you to copy as you need to generate new slides. You’ll also see the “Trash” icon right below. Don’t freak out if you accidentally send a slide to the garbage — it’s easily retrievable with the “Undo” function.
Exporting
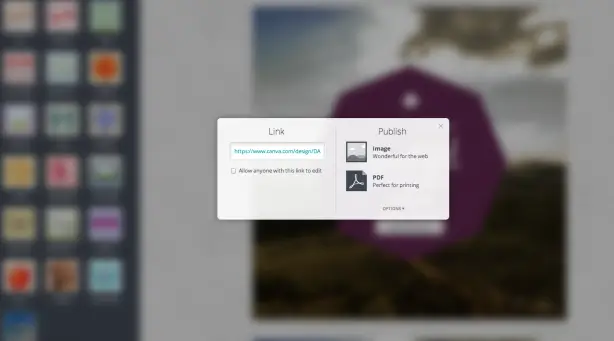
When you’re ready to send this piece out into the world, reach for the “Link & Publish” button in the top right corner of your page. This will generate a pop-up screen, asking if you would like it exported as an Image or a PDF. Choose one and save accordingly.
“What makes content engaging is relevancy.”
— GAIL GOODMAN
Linking
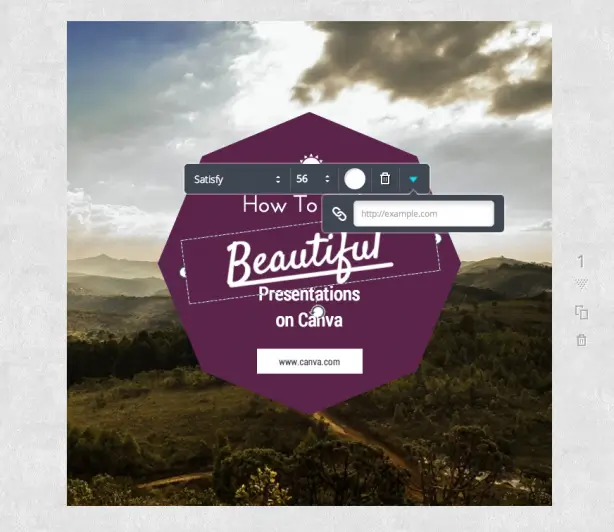
You can link material easily: Select the image or area you want to link, then press the downward arrow at the far-right end of the formatting bar and select “Link”. This allows you to hyperlink an image or design within the slides so they lead to your website.
Our Favorite Features
Color Save
There are many cool features in Canva. The palette color save feature is very helpful. It maintains the color palette you create throughout the presentation. Canva also provides their code if you need it for a different slide. This enables themes to be created with ease and maintained throughout your presentation.
Editor’s Picks
If you want to use some really strong new designs that Canva’s promoting at the moment, use the “Editor’s Picks” section. This is probably the first place we look when trying to build something creative in a time crunch.
Canva Blog
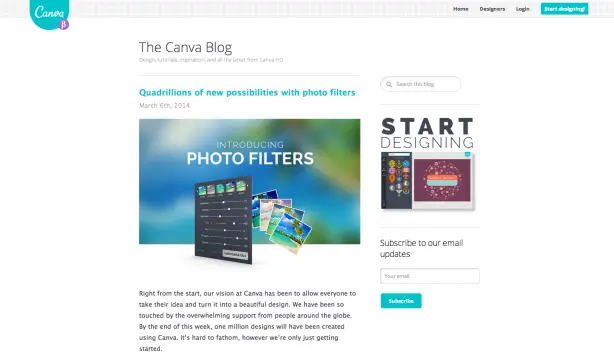
Canva’s blog is a great resource for staying up-to-date on the new features available. If you’re in need of some inspiration, you can subscribe to Canva’s mailing list to check in on all those new updates, like their newest feature: “Photo Filters,” which allows you to play with color balances of images right on the slides.
Drawbacks
Free Slides Limit
There are only a few issues we would like to see improved in Canva, but one of the most glaring is the 15 free slides limit. You can use the presentation design, but you will need to export after a certain point, and then possibly try to blend them together in outside formats. There doesn’t appear to be another option for getting around the restriction.
Background Images
Another issue we came across was switching between images. Generally this is pretty easy, but if you have selected the background of your slide with your cursor, you need to de-select the background before moving to another image layer on the slide. This is slightly frustrating, but once you understand the de-select feature, it’s easy to work with.
Corrupt Images
When you are trying to export your presentation, you may hit a wall where it will not export. This could be the issue with the image itself. Canva at this point asks you in a pop-up window to reach out to their service team to make a service request. They will have a customer service member respond promptly. This problem was solved on my dashboard, and the service representative also sent me the updated file in an e-mail.
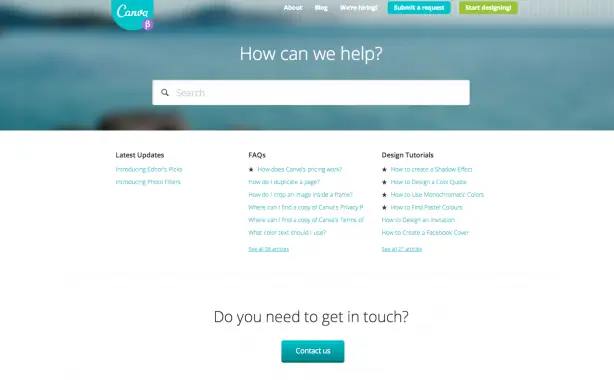
This brings us back to a pro: Canva’s great customer service. The many benefits that come with this tool completely outweigh the drawbacks, and we encourage you to give it a try! Canva is an easy-to-use solution for improving design skills and creating beautiful visual content that will draw the admiration of your peers.
Do you already use Canva? What other design tools are useful for graphics and images? Share your thoughts and critiques with us below!
CLICK TO TWEET THIS ARTICLE


